Tutorial
- Evolutionary model inference (using ModelTest)
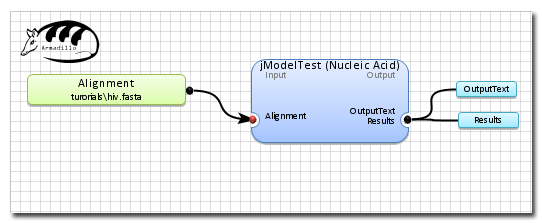
A view of the final workflow before execution.
5 steps required
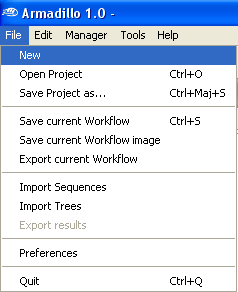
Step 1. Open a new
workflow project.
Open the
File Menu and select
New.
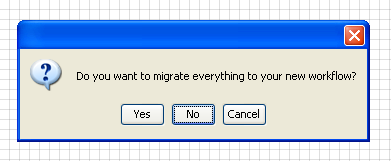
When asked if you want to migrate your data and workflow to the new
project, select
NO.
Then enter a new
project
filename.
For this demonstration, we will use
New_ModelTest as the project filename (
as shown below).

(Note:
The new project
file (New_ModelTest.db) will be created in the
\projects\ directory).
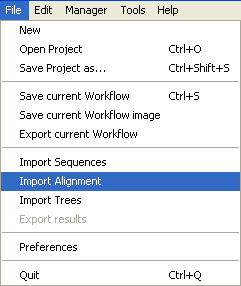
Step 2. Insert a new alignment dataset
Go into the
File Menu and select
Import Alignment.
Select the file
hiv.fasta
located in
the
/
examples
directory using the file chooser dialog box (
not shown).
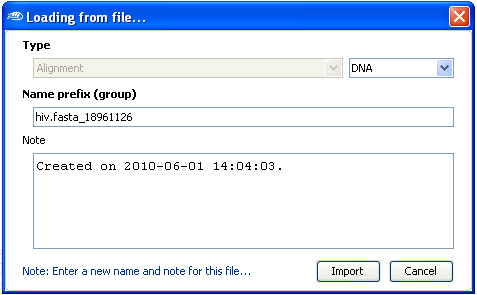
After the selection, a new dialog box will be shown in which you can enter some informations
about the sequences files, type of sequence (DNA, RNA, AA [amino acid]). Select the
Import button when you''ll finished entering the sequence informations.
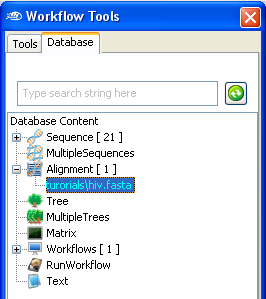
Once imported, you can find the newly imported multiple sequence alignment in
the
workflow Database
panel.
(Note: The name of the Alignment might be different).
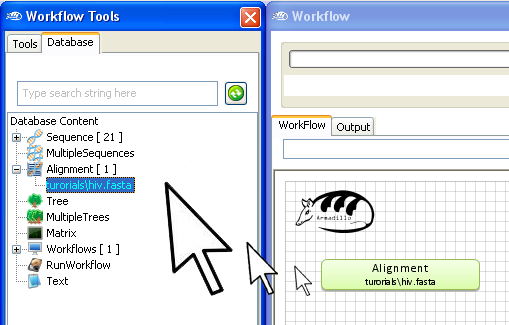
To use this multiple sequence alignment in your workflow,
"drag and
drop" it into the
workflow
area.
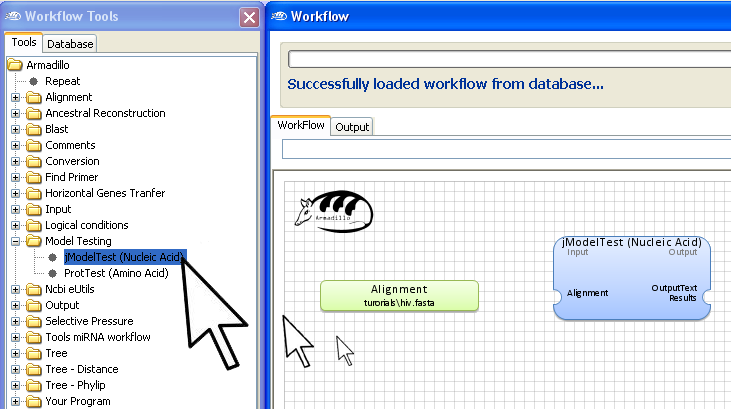
Step 3. Add jModelTest applications
Go into the
Workflow Tools panel
and using the same "
drag and drop" motion, add the
jModelTest application to the
Workflow
area.
Note: Select either
jModelTest for nucleic acid data or
ProtTest for amino acid data (proteins, peptides).
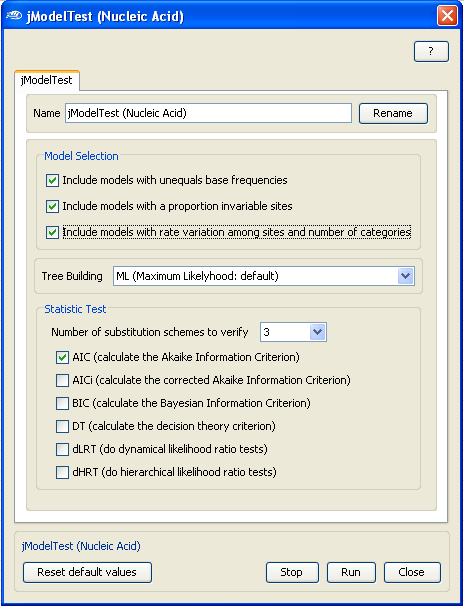
Now, to configure the evolutionnary model testing application (
no configuration is required for ProtTest), open the jModelTest configuration box by
Double-Clicking
with the
Left Mouse
button on the jModelTest application box and select in the
Model selection
the models that you want to test for this particular multiple sequence alignment.
For example, for this demonstration, we will include all the
models (
see the right panel)
but leave the
tree building and the
statistic test to the default
options.

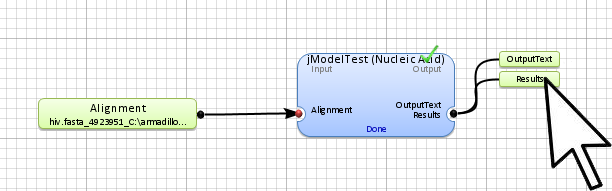
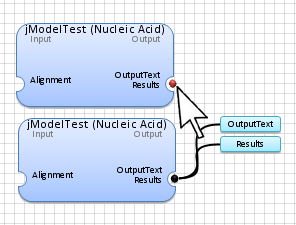
 Double-Click
with the
Left Mouse
button on the red dot

(
identifying the application data output) to show all application outputs.
Note: The blue color for any input or output data indicates that either it is undefined or has not been generated yet.
Connect the alignment
(examples\hiv.fasta) to the application box by selecting
the
connection box
at the end of the alignment and linking it to the desired application.
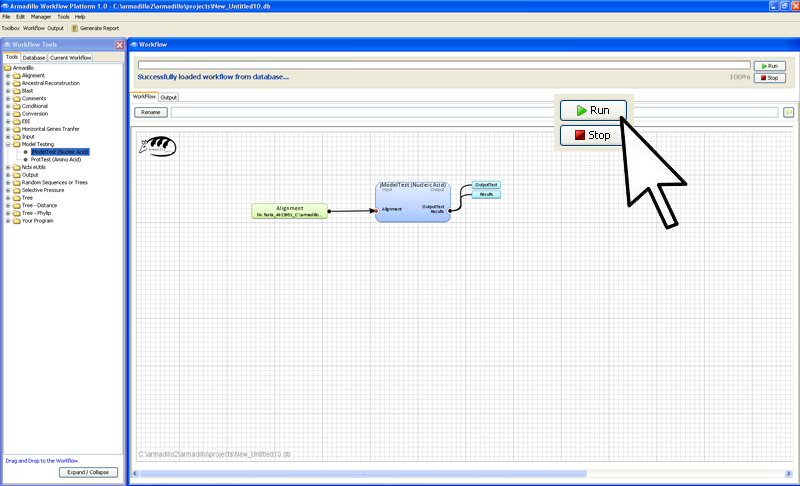
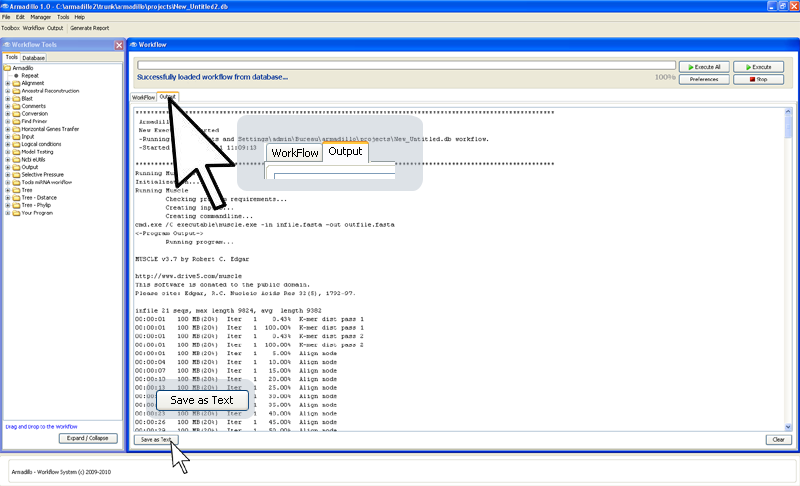
Step 4. Execute the workflow
In the far right conner of
the worflow artea, click on the
Run button.
While the applications are running (
or
after they've produced the results), you can have access the application outputs
by clicking on the
Output
panel.
(You can
save this generated application output to a text file by
clicking on the bottom-left button
"Save as Text".)
Step 5. Display the results
The results will be in the results and outputText of the jModelTest application outputs. To access them,
double-click on them.